How To Start A Blog On A Budget (Step-By-Step) – For Less Than $50
This post may contain affiliate links. If you choose to purchase something through one of my links, I will earn a small commission at no extra cost to you.

I want to share with you, step by step, how to start a blog on a budget.
If you’ve ever been interested in starting a blog or website, you’ve probably noticed by now that there are some money costs involved.
Although I’ve talked in the past about creating a free website, you’re going to need to upgrade to a fully self-hosted blog if you’re truly serious about monetising and blogging for business.
You Don't Need To Be Wealthy To Start A #Blog. Get Started For Less Than $50 #blogging Click To TweetI’ll Be Sharing The Exact Steps I Used To Start A New Blog
Aside from this blog, I also have another niche blog, which I was able to start with less than $50.
At the time I wasn’t earning much, as I was only working part-time and on a low wage. But I knew I wanted to create a blog for my new niche. Despite this, I was successfully able to find a way to start a blog on a budget.
So, all the steps I share in this post will be the same steps and tools I personally used to start the new blog.
Some of the tools I list are ones that I have also used on this blog.
(Therefore, I will only recommend things I have used myself, or I feel will be an appropriate alternative to my suggestions).
Alright…let’s break down what you’ll be learning in this guide!
Step 1: Picking A Niche & Knowing What To Blog About (FREE)
Step 2: Choosing Hosting And Domain ($43.06)
Step 3: Installing WordPress (FREE)
Step 4: Creating A Logo ($0-$15)
Step 5: Choosing A Theme (FREE)
Step 6: Building An Email List (FREE)
Bonus: Additional FREE Tools To Build Your Blog + Biz
Step 1: Picking A Niche & Knowing What To Blog About (FREE)
Before you go ahead creating and a setting up a blog, you should have some idea of what you want to blog about. If you do, then you can go straight onto step 2.
However, if you’re not too sure, then it’s worth figuring this out before continuing.
Here’s a few tips you can use to help you decide what your blog should be about.
What are your hobbies?
Your blog can be focused on the things that you find most enjoyable. If you enjoy a topic, then you’re likely to enjoy blogging about it. I’d encourage you to think of something you know a lot about, and gets you talking non stop.
What things do you have problems with?
When you’ve got a problem you probably search online to find solutions to it. Therefore, this can be a great way to narrow down a niche. You can help others find solutions to problems that you face also. E.g:
- Health
- Family and Relationships
- Money
- Employment
- Cooking
- Anxiety
- etc
Do you have any fears?
Blogging about your fears could lead to a potential niche idea. What things are you afraid of that you’d like to overcome? You could talk about how you’ve personally overcome your fears, or your journey to overcoming those fears. Some examples could include:
- Fears of Public Speaking
- Fear of Failure
- Fear of Driving
- etc
What have you purchased recently that you needed to research a lot?
Another potential niche idea is to take a look at what you’ve purchased recently, and see if you can use that to help you think of niche ideas.
It could be anything from a new phone, or a tablet device, to a new book or home appliance.
I purchased a Foldable Guest Bed from Amazon last year, and I remember doing a lot of research to figure out which bed I should go for. Although there was some content online, there was definitely room for a lot more. So that could easily be a niche idea.
Other Popular Niche Topic Ideas
- Weight loss
- Travel
- Fashion and Beauty
- Games
- Technology
- Online Marketing
I hope these tips have given you some ideas to think about if you’re stuck on niche ideas.
The main thing is to make sure you pick a niche you are really interested in, feel you could talk a lot about, and believe would be helpful to other people.
Step 2: Choosing Hosting & Domain ($43.06)
Now that you know what your blog is going to be about, it’s time go ahead and start creating it.
The hosting provider we’re going to be using is iPage. They offer one of the most affordable hosting plans online, and it comes with a FREE domain name. This is the hosting provider I used and I definitely recommend it for anyone looking to blog on a budget.
Start by heading over to the iPage website
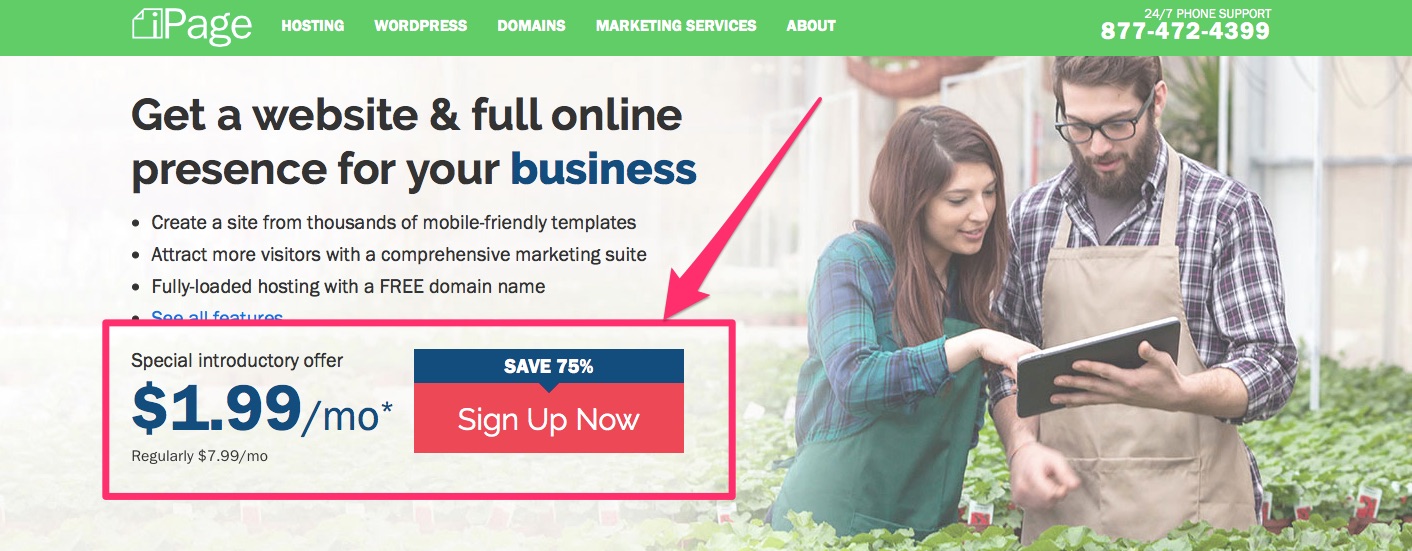
You’ll see straight away that they’re offering plans from $1.99 a month (or it may say £1.50 if you’re in the UK). This is the plan we’ll be choosing.
Click the “Sign Up Now” button and proceed to choose your domain name.
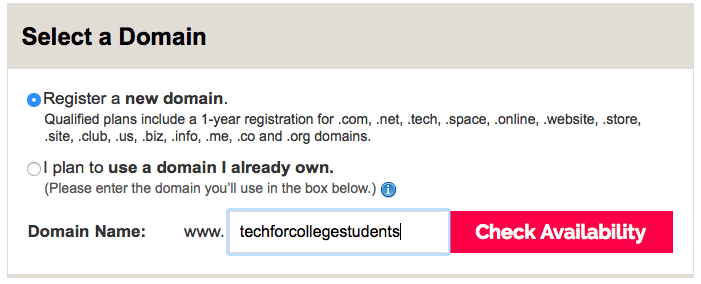
As you begin entering your domain name, select “Check Availability” to see whether it’s available or not.
Quick Tips For Choosing A Domain Name
There are 2 types of domain names you may want to consider before deciding which name to pick.
1. Keyword Based Domain Name:
A Keyword-Based Domain name is one that has a term or phase specific to your niche. For example, if your blog is about the best tech for college students, then you may want to have the keywords “tech for college students” in the domain name. So your website would be techforcollegestudents.com.
2. Brandable Domain Name:
If you’re having trouble finding a keyword specific domain name, you may want to consider something that can be brandable. I’ve come across many blogs and brands that don’t have a specific keyword in their domain name. For example:
– Google.com- Amazon.com- eBay.com- Facebook.com
Some bloggers just use their name as the domain, so that could also be an option too.
It’s also important to think about a name that you can use across different social media accounts in order to keep the brand going on all platforms.
Next, fill out the registration form and purchase hosting.
Once you’ve decided on a domain name and checked it’s availability, you can begin filling out the registration form and purchasing your new domain and hosting package.
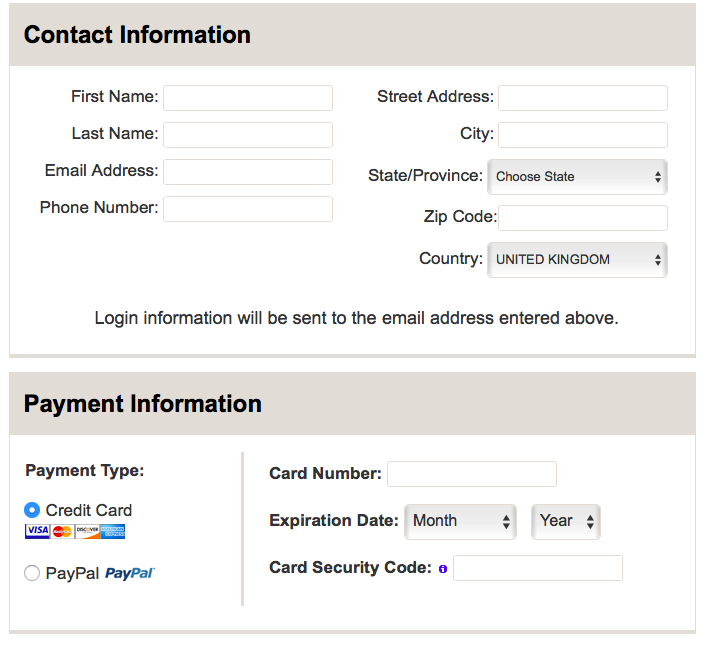
iPage even has an option to pay via Paypal.
[alert-announce]If you’re in the UK, plans are £1.50/month for 12, 24 and 36 months. Therefore you could start a blog for less than £22 (no extras included)[/alert-announce]There are 3 main plans you can choose from.
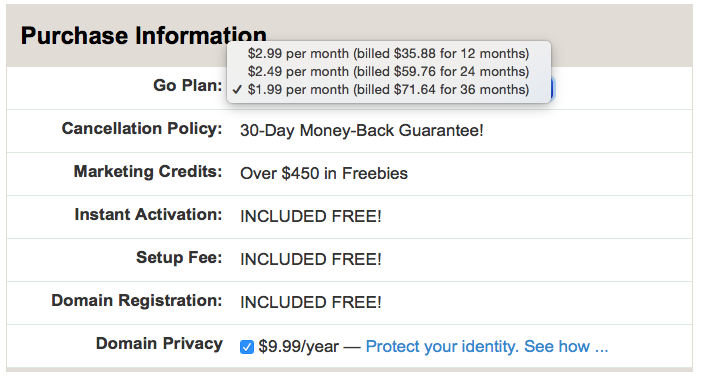
12 months ($2.99/month)
This plan allows you to purchase 12 months of hosting for $2.99. If you purchase this with no extras, it’ll cost you only $43.06 in total.
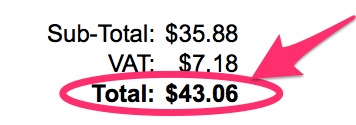
Less than $50 for 1 year
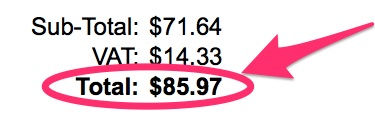
24 months ($2.49/month)
With this option, the total comes to $71.71.
36 months ($1.99/month – best option if you have the funds)
This option comes to less than $90 and you can host for 3 years. This is the option I would personally recommend if you have the budget to do so.
Less than $90 for 3 years
You may want to consider purchasing the Domain Privacy for an extra $9.99/year, if you have the budget for it, but there’s no obligation to do this.
When I purchased my blog I went for the 12-month plan (which was $1.99/month at the time) with no extras. However, if you can afford the 36-month plan then it’ll be much more cost-effective in the long run.
Alternatives:
For Hosting + FREE Domain Plans:
- Bluehost – $2.65/month (billed for 36 months)
- Hostgator – $3.95/month (billed for 36 months)
- GoDaddy – $3.99/month (billed for 36 months)
For Domain Only:
- Namecheap – $10.69/year
- GoDaddy – $12.99/year (or £0.99/year for 2 years)
- SiteDomains – $13.99/year (includes FREE Privacy protect and SSL certificate)
For Hosting Only:
- Namecheap – $9.88 for 1 year, then $38.88/year to renew (can host up to 3 sites)
- Siteground – £2.75/month (billed for 12, 24 or 36 months)
Step 3: Installing WordPress (FREE)
Great, your hosting and domain are finally set up! There’ll be a few videos to get you started, then it’s time to install WordPress.
WordPress will be accessible from the Control Panel.

Now you can proceed to install WordPress by following the prompts.
Here are 5 reasons why I recommend WordPress:
- Easy to install and set-up: WordPress it pretty easy to set up, and there are multiple videos online and on youtube if you need further assistance
- You don’t need any prior knowledge of HTML or coding: When I first set up my blog, my knowledge of HTML was almost non-existent, but I was still able to successfully install WordPress with no hassle. Even now, I don’t need much code knowledge to write content and get my site looking professional. If you do ever want to learn a bit of coding, there are free resources online (e.g. Codecademy)
- There are 1,000s of website templates to choose from: Wordpress gives you so many theme options that you’re bound to find a theme that suits your needs. If you don’t like one, you can always change to another quite easily.
- Plugin options: There are also a number of plugin options available. So you can add plugins to further improve your blog design and functionality.
- Lots of help and support: Since WordPress is so widely used by bloggers, the internet is full of guides and tutorials to help you.
Step 4: Creating A Logo ($0-$15)
I personally used free methods to create logos for both of my websites, but there’s also the option to pay for a logo if you’d prefer to have a professional create it.
If you’re on a tight budget and you’ve got a creative flair, you could definitely consider creating your own free logo. The tools I used were:
Canva
Let’s start with Canva.
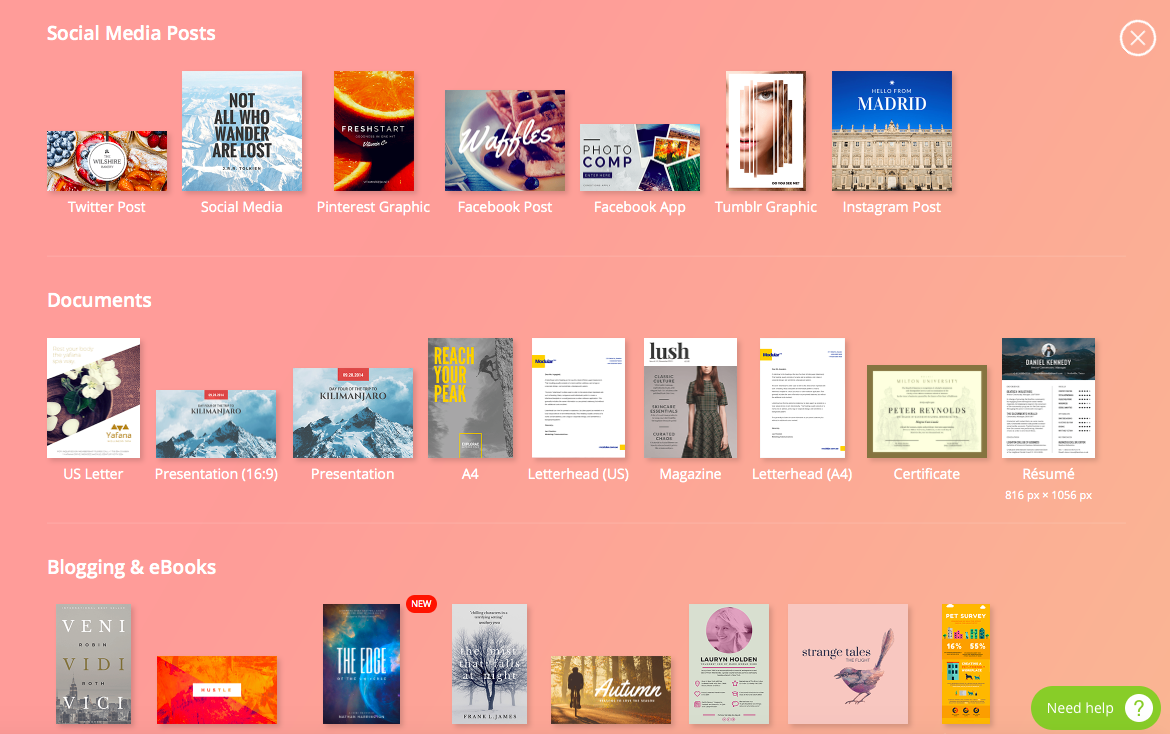
Canva is a photo editing tool that allows you to create eye-catching images, banner ads, ebooks and presentation slides. It’s a great tool for people who are new to photo editing and looking for a way to create visual content that stands out.
It’s completely FREE to join, but there is also a paid version if you wish to upgrade. I personally think the free option suits most bloggers perfectly.
Below is an example of a logo made using Canva. It’s just something I made quickly to give you an idea of a simple logo using Canva only.
Example of a logo using Canva
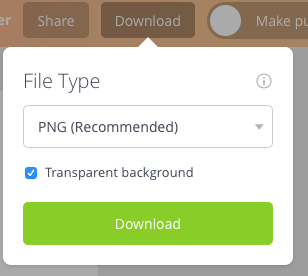
Note: When you’re ready to download your logo, be sure to tick the checkbox that says “Transparent Background” (see image below)
LogoMakr
LogoMakr is another free tool which is specific to making logos. You can choose from a number of icons to fit your blog’s niche, and you can add text and shapes to make it unique.
Below is an image of another logo I created, this time using LogoMakr. It’s just to show how simple it can be.

Example of a logo using LogoMakr (Fashion graphic by darius_dan from Flaticon is licensed under CC BY 3.0. Created on LogoMakr.com
The difference with LogoMakr is that you need to credit the logo somewhere on your blog. There are a few ways you can do this such as, creating a page titled “Credits” where you list any credits you need to add, and then putting a link to that page in the sidebar.
Or you can have a footer link which says something like “logo created on LogoMakr.com”, along with any other credits that need to be added, then link it to the website.
There’s also the option to purchase your new logo for $19. No credits will be required and the logo will be of higher quality. This is a good option if you’re looking to have your logo printed on clothing (e.g. t-shirts) or business cards, and/or if you wish to create large banners & signs.
Fiverr
If you’d prefer to have your logo made by a professional, you may want to consider hiring a logo designer from Fiverr. Logo designs start from just $5 (£3.92). I would encourage to do a bit of research and look for sellers with a high rating and good seller feedback.
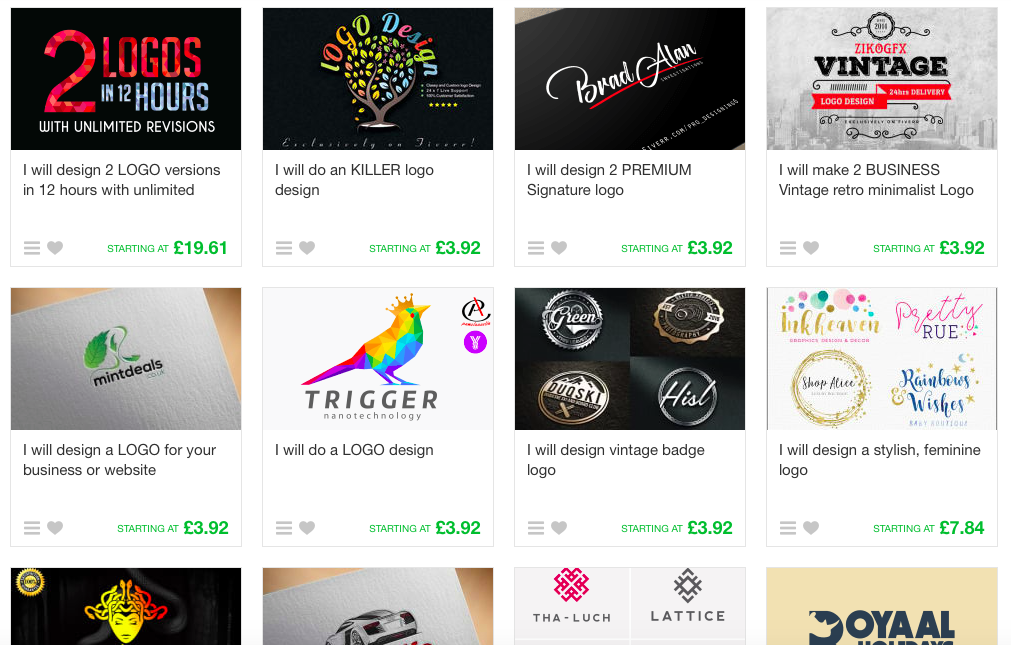
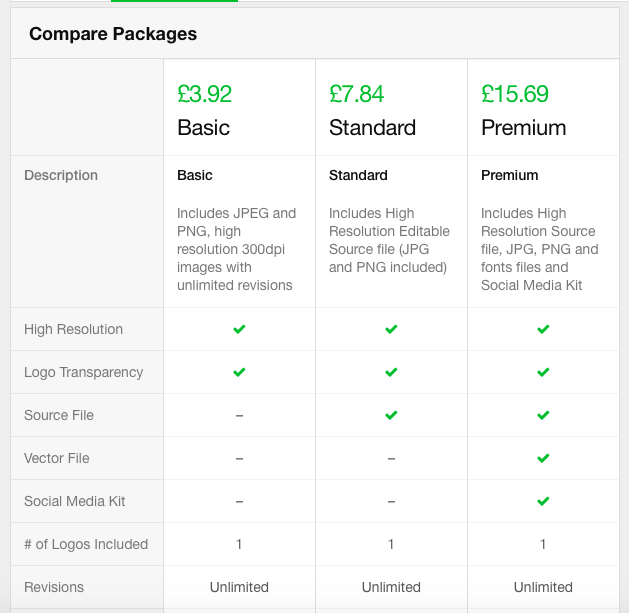
You may be lucky and find a gig for $5 that includes everything you need, but it’s likely you may be spending more for gig extras worth getting (see example below).
3 Things to consider when creating a logo:
- Choosing a colour scheme – It’s important to know your colour scheme before creating your logo so that the colours you choose run throughout your brand. If you’re not sure what colour scheme to go for, there are online tools that allow you to generate different colour schemes. I personally use Coolors.co (it’s FREE). Also, this blog post on colour psychology was super helpful to me too.
- Style – What style are you going for? Minimalist, feminine, bold? These are things you might want to consider when choosing what fonts and colours to use, or even what logo designer to go for. On Fiverr there are some sellers that cater to specific styles.
- Sometimes simplicity is key – You don’t need to make your logo too complicated. Sometimes the most simple logos are the most effective. Just think of the Apple logo as an example.
Step 5: Choosing A Theme (FREE)
The next step for your blog is to choose a theme. You can also choose a theme before creating a logo if you wish.
As this guide is focused on how to start a blog on a budget, the best option is to go for a FREE WordPress theme.
It’s really easy to set up a theme.
Head over to your WordPress dashboard, hover over “Appearance”, and then click “Themes”.

You’ll be able to search for themes by “popular”, “featured” or “all”. You can even type in a keyword and see what themes pop up.
The screenshots below shows just a handful of the themes that are available.
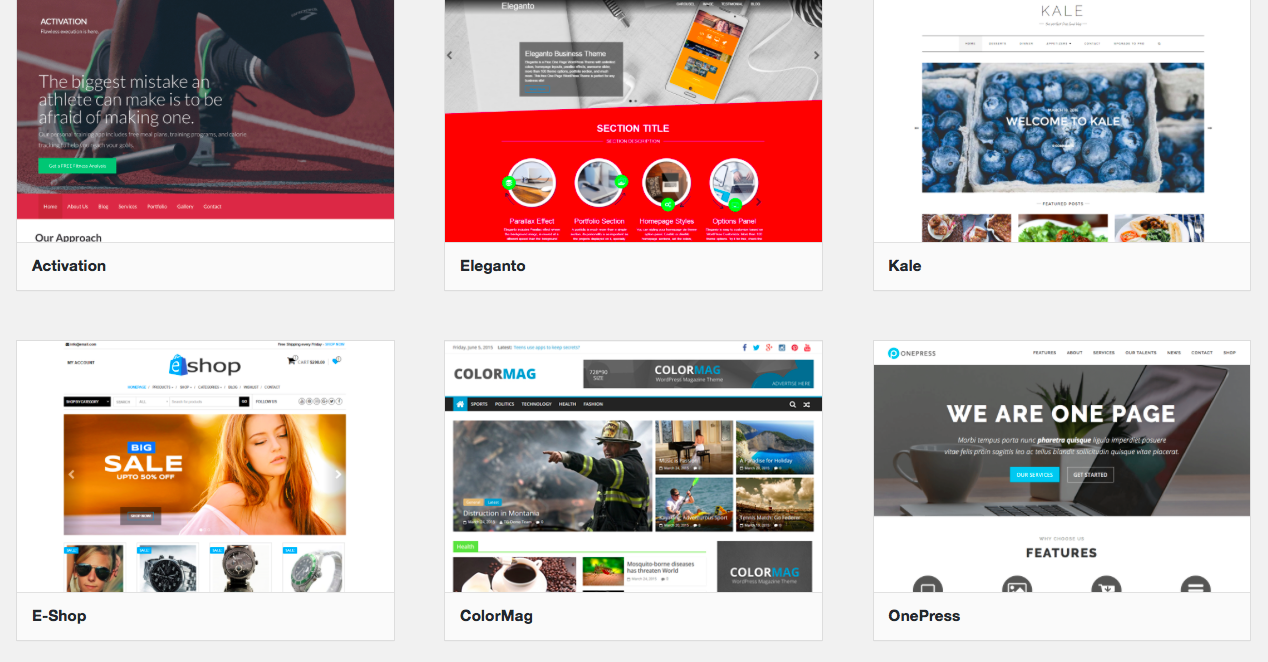
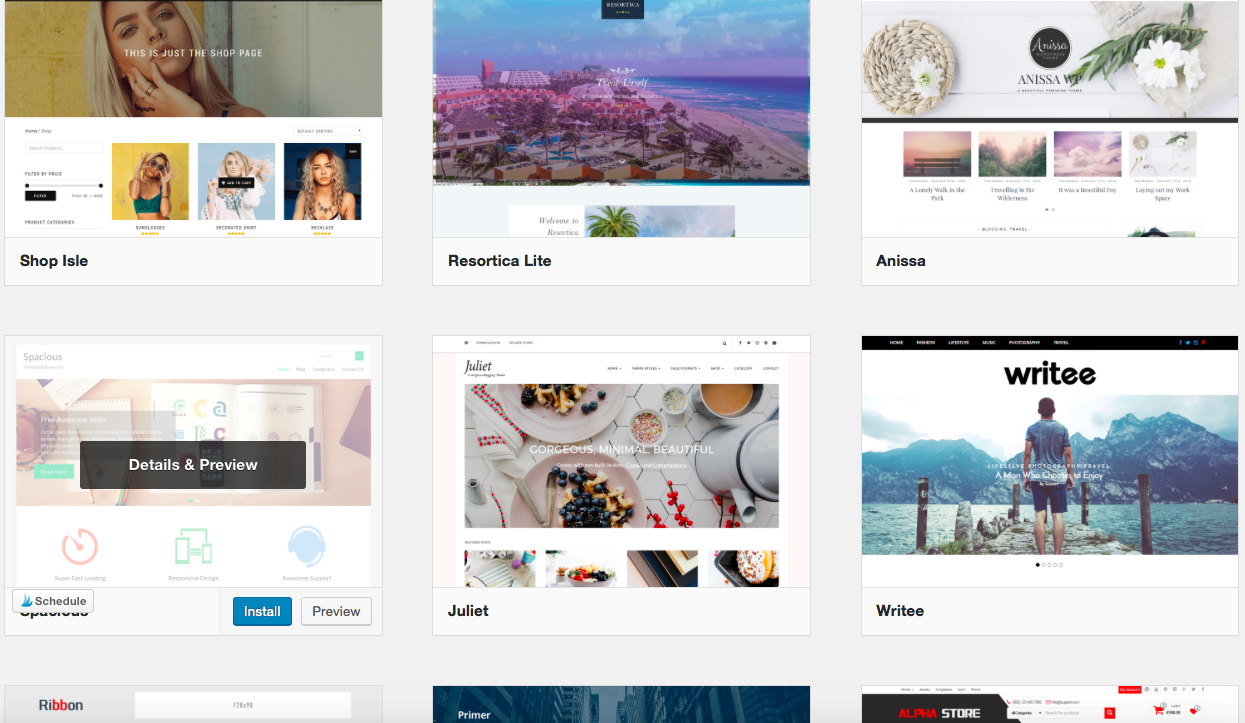
When I started, I was using the Nirvana theme, but I remember it took me ages to find a theme I liked for free, so if you’re looking for some inspiration, check out this article by Colorlib, where they list 50+ Beautiful and Free responsive Themes 2017.
Paid/Premium themes ($19+)
I see quite a lot of bloggers, including myself, talk about getting a premium WordPress theme for your blog. However, you may be wondering what the differences are and whether it’s actually worth making the purchase.
- Support & Updates: With premium themes, you get access to theme support and regular theme updates. This means your theme is regularly revised to be compatible with the latest WordPress updates.
- SEO (Search Engine Optimisation): Many premium themes offer in-built SEO options and clean code for faster loading
- Higher Quality, Better Security and Advanced Functionality: The quality for premium themes is much higher and there’s a lot more option for customisation. So you can make your website really look your own.
There’s no obligation to purchase a theme for your blog when you’re starting on a budget. There are many bloggers that are successful just using free WordPress themes.
However, if you’re looking for more customisation, quality and support, then it’s worth upgrading to an affordable premium theme when you have the funds to do so.
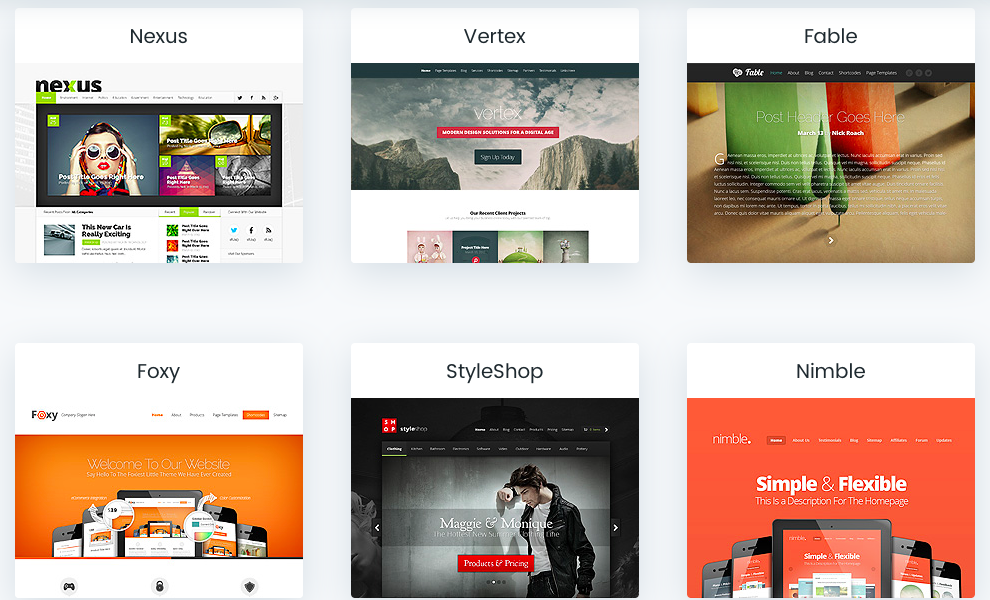
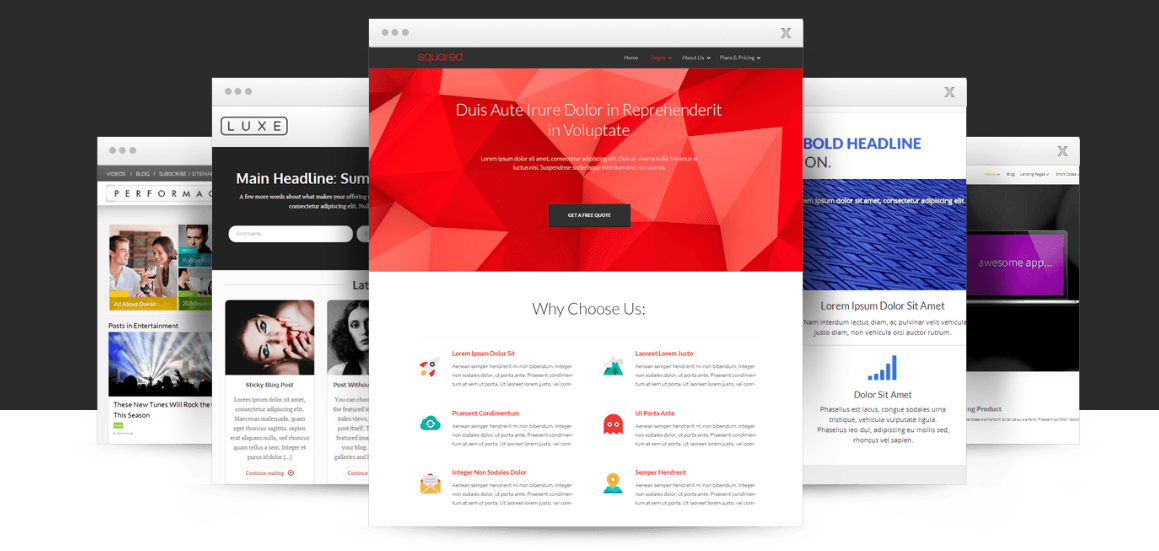
Below are a few premium theme providers I suggest. Some I have personally used and others I recommend as alternatives.
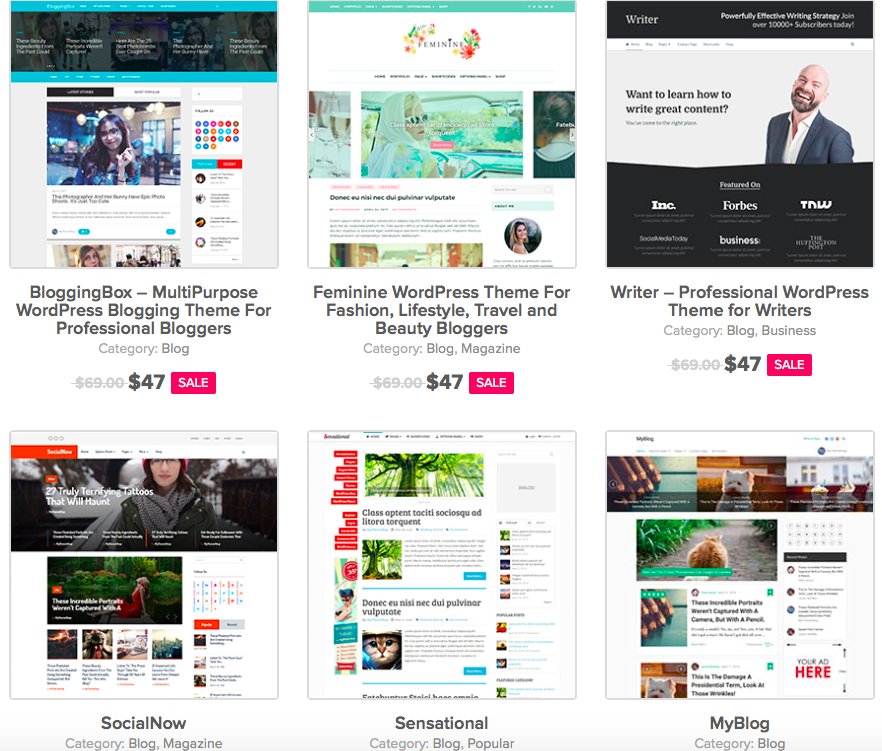
The theme for PreciousNewStart.com was initially purchased from MyThemeShop.
Not only do they offer FREE themes, which you can download, they also offer very affordable themes, and you can even benefit from discounts if you sign up for their newsletter.
I was able to purchase the theme I was using previously for only $19 during a promotional period. Then I was provided with a $10 voucher, which meant I was able to purchase a second theme for only $9!
The themes I purchased from MyThemeShop were:
So if you’re able to wait, I’d encourage you to hold off buying a theme until they’re doing a special promotion. This way you can get your favourite theme at a discount. You can find this out by subscribing to their newsletter. Generally, their themes cost $47-$69, then $19/year for continued updates and support, and to be part of the membership. You can cancel the yearly fee at any point and still keep the downloaded theme.
Although I haven’t used elegant themes personally, I know a lot of bloggers that use this platform. It’s a good option if you’re looking for an alternative to MyThemeShop. A very popular theme on this site is the Divi Theme. It’s multipurpose, therefore you can create just about any type of website. It also comes with a few other features, such as Divi Leads Tool and the Divi Drag & Drop Page Builder. There are currently 2 price plans available with Elegant Themes.
- $89/year for unlimited access to Themes and Plugins + more
- $249 one time – lifetime fee for unlimited access to Themes and Plugins + more
When I decided to redesign my new niche blog, I purchased the Thrive Themes membership and installed one of their themes on my site. I personally chose Thrive Themes because I liked that they were conversion focused, and I felt their themes stood out and had very clean designs. I also liked that the full membership included quality plugins and their own training platform.
Now this blog is running on the Focus Blog theme from Thrive Themes.
Thrive Themes costs $49 for individual themes, however, the full membership offers the best value for money as you get access to all themes along with some of the industries best plugins for marketing and conversions. A full Thrive Theme membership costs $19/month (billed annually). This option may not be the most affordable, so only suitable if you have the funds to upgrade to this platform. But it can be worth considering when you have more funds available.
StudioPress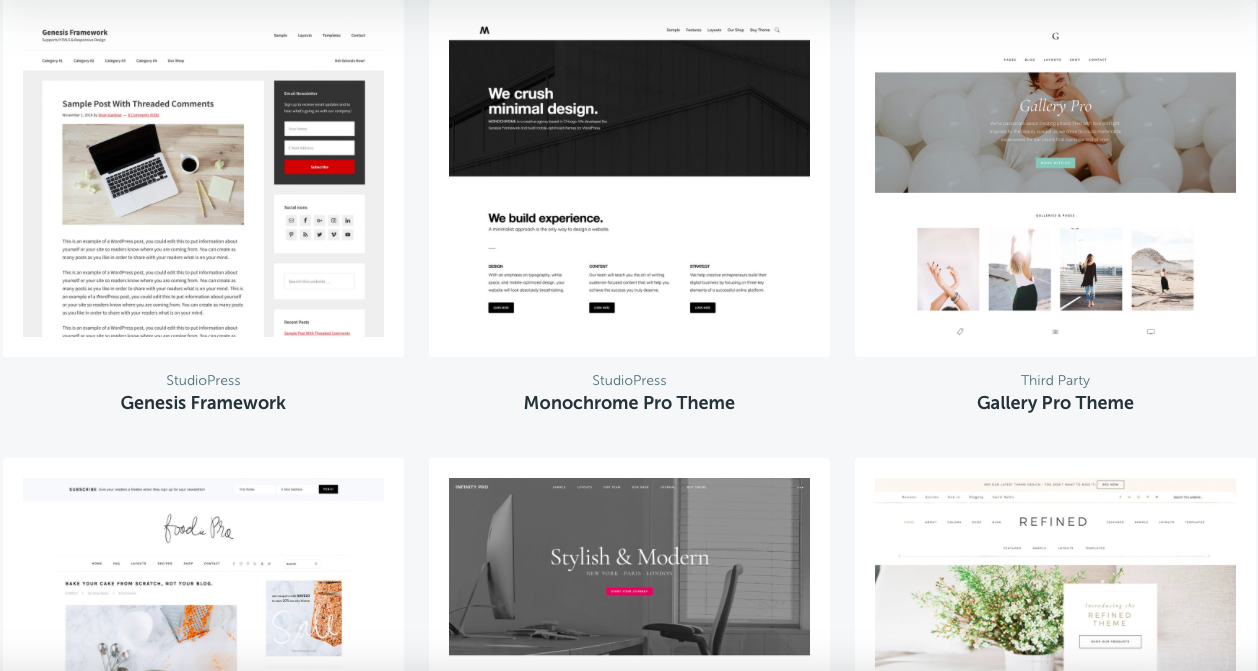 StudioPress is quite similar to Thrive Themes in regards to pricing, so it may not be the first option for you if you’re on a budget.
However, if you do decide you want a premium theme, there are many themes to choose from here, with the most popular theme among bloggers being the Genesis Framework.
It doesn’t cost too much, offers a good amount of customisation features and has dedicated plugins.
Individual theme prices start from $59.95.
If you choose to purchase their membership plan, prices start from $24/month (billed yearly).
Step 6: Building An Email List (FREE)
As the saying goes “The money is in the list”. Having a mailing list is the perfect way to retain your readers and keep in contact with them.
You can share your latest blog post, promote our latest product or just keep them up to date with what’s happening with your blog.
It’s quite easy to get all this set up for free, and it’s only recently that I invested financially into building and growing my email list.
There are 2 steps to building your list and retain readers. Firstly you need to have a tool which allows you to collect emails, then you need another tool in order to send out emails to your subscribers.
1. Collecting Emails
MailMunch
MailMunch is a FREE plugin tool I’ve used in order to collect subscribers on my blog.
It’s really simple to use and very easy to install on WordPress. Once completed, you can begin setting up your opt-in box.
You can set your opt-in to show as a pop-up, on the bottom of a post or in the side bar.
Opt-in Incentive:
The best way to get email subscribers is to create an opt-in incentive. Something that makes them want to join your list.
However, when you’re first starting out, you may not have much to offer, but that shouldn’t stop you from creating an opt-in form.
You can begin by encouraging your readers to sign up to stay up to date with the latest blog posts + tips.
Then, later on, you can work on creating your opt-in incentive.
Sending Out Emails:
Now that you’ve created your opt-in form, you need a way to send messages to your readers.
Luckily, Mailmunch has a feature that allows you to send your readers a welcome email and an autoresponder series.
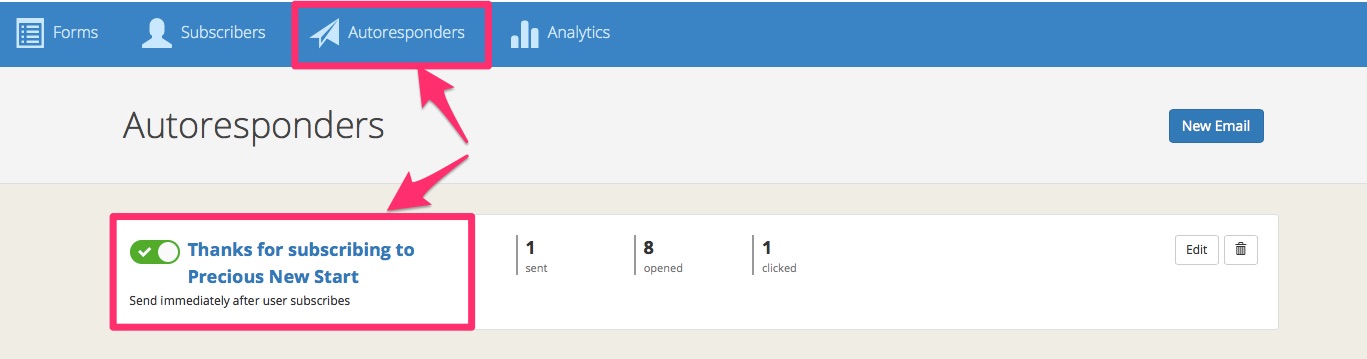
You can also integrate your MailMunch forms with an Email Service Provider (discussed further below).
Sumo
Sumo is quite similar to Mailmunch and I’m aware of a lot of bloggers that use this tool. Therefore, you can consider this plugin if you’re looking for an alternative.
Sumo offers some more features compared to MailMunch, however, this could be overwhelming if you’re new to blogging/making websites.
It’s worth trying out each one to decide which plugin works best for you.
You can easily work with the FREE version, but you can also purchase the paid version from $29/month if you wish to upgrade. The screenshot below shows how you can edit your opt-in form on the left, and you can see the edits, in real time, on the right.
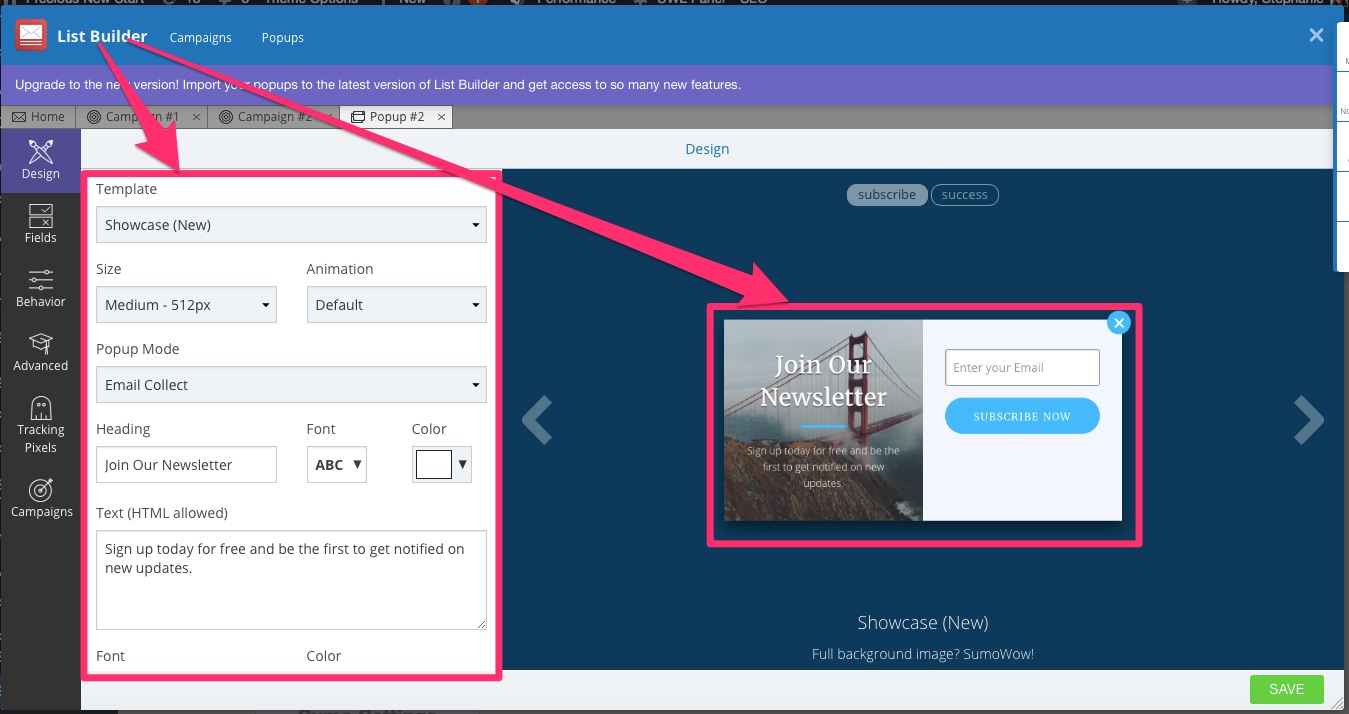
Currently, there doesn’t appear to be an option to add an autoresponder series with Sumo, and in order to integrate with an email service, you would need to upgrade your Sumo account.
Overall, MailMunch offers an easy way for you to add an autoresponder series, however, if you want to really effectively communicate with your readers then I recommend an email marketing service.
2. Email Service Providers
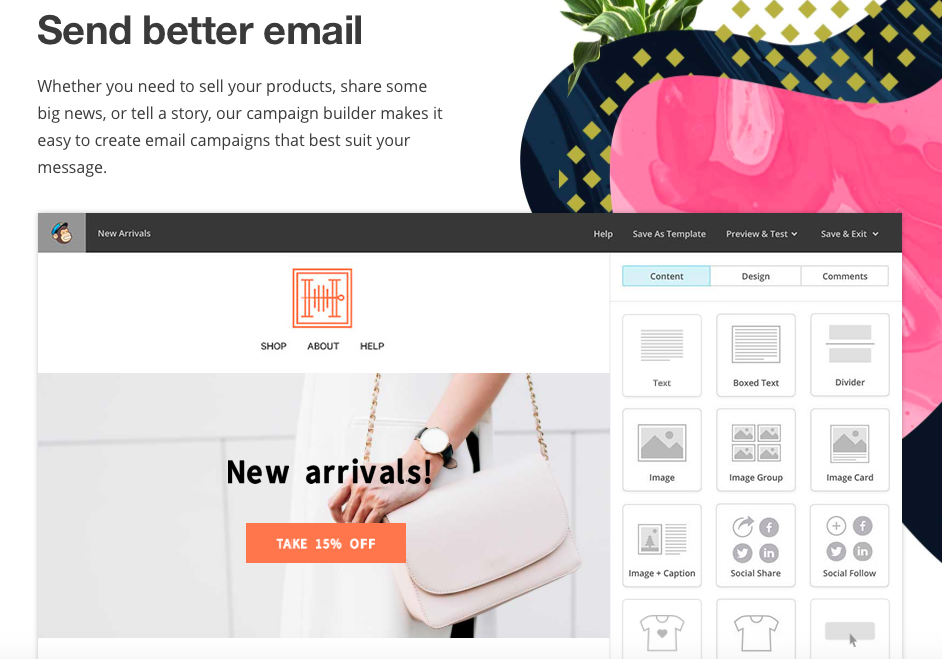
MailChimp offers a FREE forever plan for up to 2000 subscribers and 12,000 emails per month. This is one of my recommended options for anyone starting out on a budget, and this was the first one I used when I started blogging.
Once you’ve exceeded 2000 subscribers, paid plans start from only $10 a month.
MadMimi are also FREE for up to 100 subscribers. If you choose to upgrade, prices start from $10 for 500 subscribers.
If you’re looking for an alternative to MailChimp, then I feel MadMimi is an alternative worth considering.
However, if you’d prefer to try out some paid options, then be sure to check out the list below with some providers including FREE trials:
- 30-day free trial
- Plans start from $15/month up to 1000 subscribers
This is my current email provider, Since writing this guide I have now moved over Convertkit, however, Getresponse is still one of my top recommended email marketing services for beginners and bloggers/marketers on a budget.
They are affordable and have a range of template options.
- 30-day free trial
- Plans start from $19/month up to 500 subscribers
Although I don’t use Aweber, I have used them in the past during the free trial and I feel they have a nice, simple user interface and are quite a good alternative.
- There is currently no free trial offer
- Plans start from $29/month for up to 1000 subscribers
I personally haven’t used Convertkit, but I’ve come across many bloggers that use this platform, and it’s increasingly becoming one of the most popular options, alongside Getresponse and Aweber.
I’ve finally gotten round to trying out Convertkit and it’s my recommended email marketing platform for bloggers.
I still feel this option is better suited for bloggers with a bit of experience, and those of you who are not on a budget.
So, now you can see it’s super easy to get started for FREE, and you can begin growing your email list without having to spend a penny.
Bonus: Additional Tools To Build Your Blog + Biz
Search Engine Optimisation (SEO) Tools
- Jaaxy (FREE Trial)
- Ubersuggest (FREE)
Content Generator Tools
Content generator tools are used to help encourage blog topic ideas when you’re stuck on what to write. They’re great tools that help get your creative juices flowing, and possibly get you to have hundreds of content ideas to blog about.
Below are links to 2 blog posts I wrote listing different FREE blog content generator websites worth sharing:
- 3 Blog Content Generator Websites Worth Sharing
- 5 More FREE Blog Content Generator Websites Worth Sharing
Blog/Affiliate Marketing Training
I currently use Wealthy Affiliate for Blogging and Affiliate Marketing Training. They are my recommended course for any beginner blogger wishing to monetise their blog with Affiliate Marketing.
Not only do they offer high-quality training, they also offer a number of features within their platform:
Free Membership:
- 10 Starter Lessons
- 2 FREE websites (“.siterubix.com” subdomain)
- Live chat for first 7 days
Paid Membership ($49/month or $359/year):
- Domain Registration ($13.99)
- Web Hosting for up to 50 websites
- Keyword Research Tool
- Online Community of like-minded bloggers and marketers
- Full Live Chat Access
- Weekly Live Webinars
- Website Feedback and Comments tools
- Content Writing Platform
- …and much more
Social Media Tools
I would highly encourage you to set up social media accounts when setting up your website, but don’t feel obligated to be on all social media.
Some of the top platforms include:
- StumbleUpon
Think about where your audience is likely to spend their time and find information, then focus on those platforms.
For example, food bloggers are more likely to benefit from building their Pinterest account. Fashion bloggers may benefit more from growing their Instagram accounts.
Scheduling tools
Tailwind: Perfect for scheduling Pinterest and Instagram posts (get 1-month FREE trial when signing up through my link)
CoSchedule: Used to schedule new content on WordPress, Pinterest, Instagram, Facebook and Twitter. There’s also a phone app which you can download for Android or Apple. (14-day FREE trial)
Hootsuite: This tool allows you to schedule content on social media sites such as Facebook, Twitter, and Instagram. There’s a FREE plan, and paid plans start from £16/month with FREE trial options.
Congratulations!
Awesome, if you’ve managed to make it to the end of this guide, then CONGRATS on learning how to start a blog on a budget!
For less than $50 you’re able to:
- Purchase domain and hosting for 12 months
- Install WordPress and select a theme
- Create a logo and set up an opt-in form with an autoresponder series
- Plus take advantage of FREE tools to help build your blog and business.
So, now that you’ve seen that it’s possible to start a blog on a budget, let’s get crackin’…a precious new venture awaits!
[alert-note]This post contains affiliate links. If you choose to purchase something through one of my links, I will earn a small commission at no extra cost to you. For more information please read the Affiliate Disclosure[/alert-note]Pin This For Later

Wishing you the best on your blog.
If you have any questions regarding this guide or any tools mentioned above, feel free to ask in the section below.